Hip Joint Stretch
Hip joint stretch in supine position, leg crossed in figure 4 with pull toward the chest, to release deep hip tension.
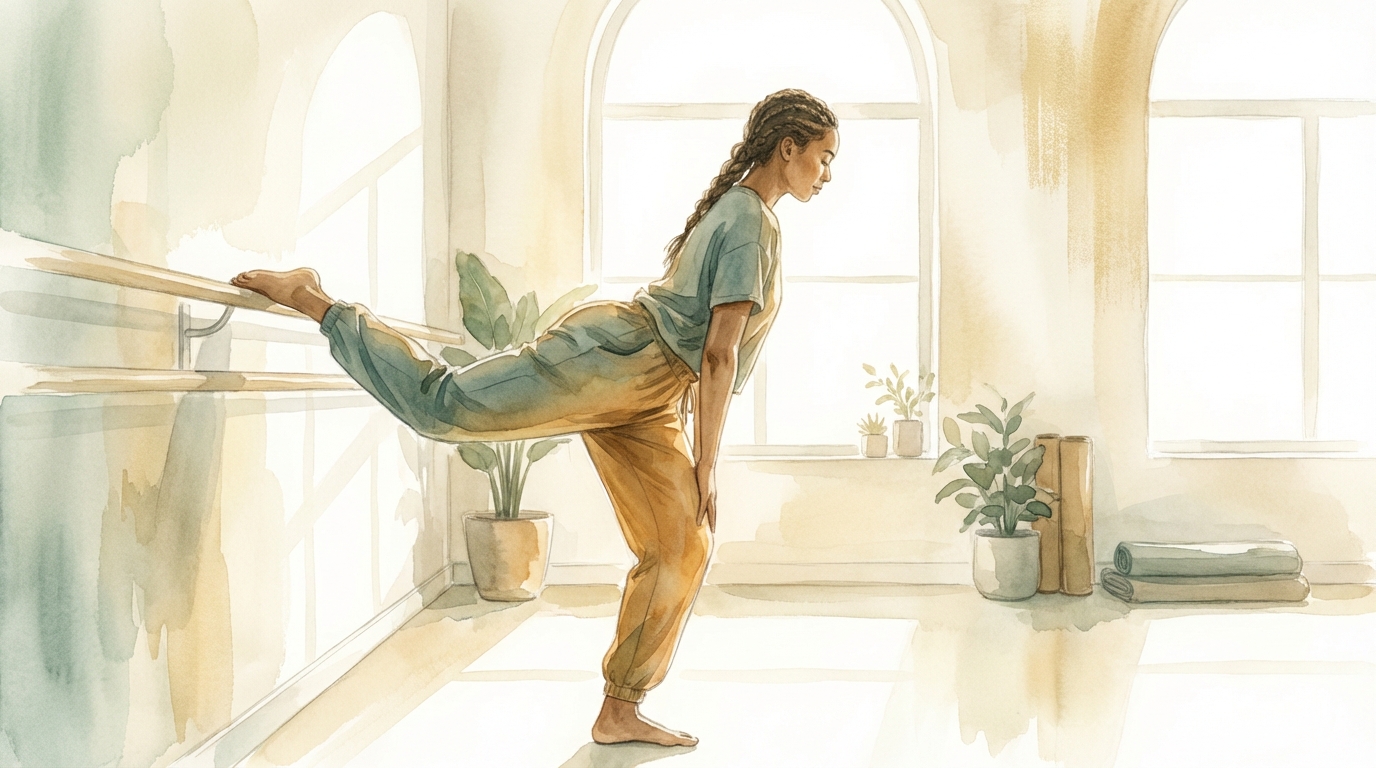
Hip Joint Stretch — Supine Figure 4
The hip joint is the largest and most powerful joint in the human body, connecting the femur to the pelvis. It bears body weight, absorbs shock during walking and allows remarkable range of motion in all three planes. When this joint stiffens — from osteoarthritis, sedentary lifestyle or muscular tension — the consequences ripple through the entire locomotor system: limping, compensatory lower back pain, premature knee wear. This figure 4 stretch targets deep hip structures with maximum effectiveness and minimal risk.
Why Stretch the Hip Joint?
Hip pain affects nearly 15% of the adult population. It can originate from the joint itself (osteoarthritis, torn labrum), surrounding muscles (piriformis, psoas, glutes) or periarticular structures (trochanteric bursa, joint capsule). The supine figure 4 stretch is versatile: it stretches the hip external rotators, releases the posterior joint capsule and decompresses the sciatic nerve by freeing the piriformis. It is one of the most prescribed exercises in hip rehabilitation.
Anatomy Involved
- Hip joint capsule — fibrous envelope surrounding the joint, whose stiffness limits mobility.
- Piriformis and deep external rotators — a group of six deep muscles (piriformis, superior and inferior gemelli, internal and external obturators, quadratus femoris) ensuring external rotation.
- Gluteus maximus — the largest gluteal muscle, hip extensor and external rotator.
- Iliofemoral ligament — the strongest ligament in the body, limiting hip extension and external rotation.
Step-by-Step Instructions
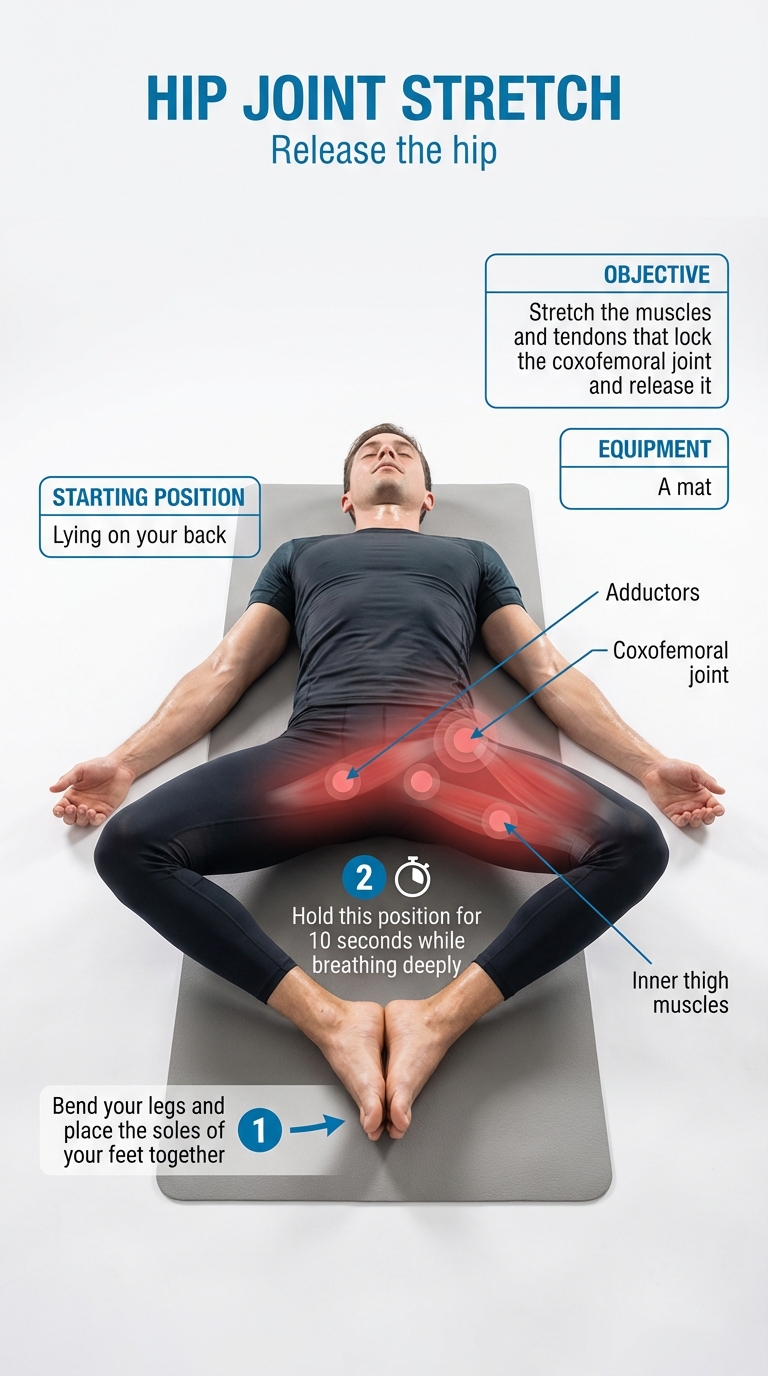
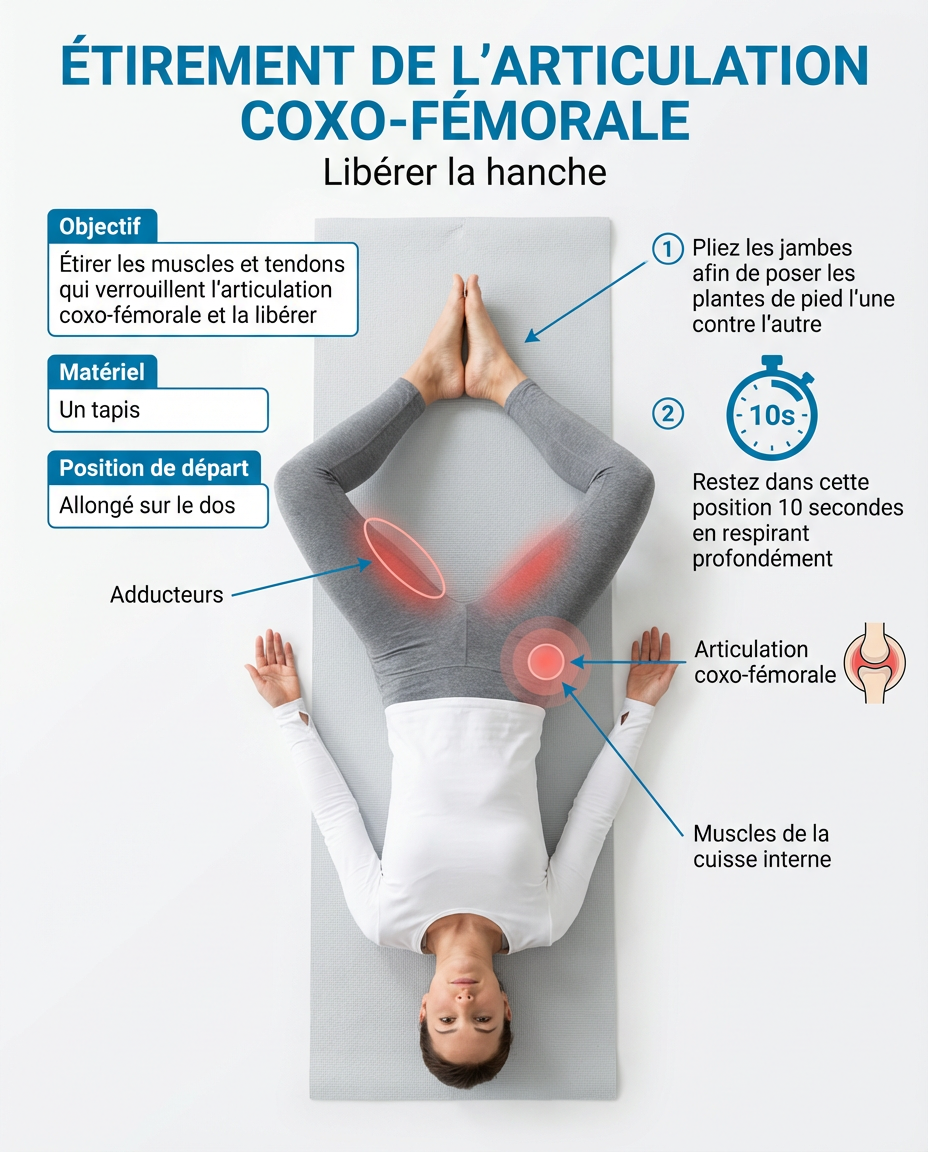
Step 1 — Starting Position
Lie on your back on a mat, both knees bent, feet flat on the floor. The lower back contacts the floor, arms relaxed at your sides.
Step 2 — Cross into Figure 4
Place your right ankle on your left knee, creating a figure 4 shape. The right knee naturally falls outward. You already feel an initial stretch in the right buttock and outer hip.
Step 3 — Pull Toward Chest
Thread both hands behind the left thigh (or onto the left shin) and gently pull the leg toward your chest. The right ankle stays on the left knee, the right knee opens further. Adjust the pull to achieve a deep but comfortable stretch.
Step 4 — Hold and Breathe
Hold for 30 to 45 seconds, breathing deeply. With each exhale, let the stretch deepen naturally. Release slowly, then repeat on the other side. Perform 3 sets per side.
Duration and Repetitions
- Hold: 30 to 45 seconds per side
- Sets: 3 per side
- Frequency: 1 to 2 times daily
- Total duration: approximately 6 minutes
Safety Tips
- Head and shoulders must stay on the floor — do not curl the upper body forward.
- Never push the crossed knee with your hand to force the opening: this stresses the knee joint.
- If you have a hip replacement, respect the flexion limitations prescribed by your surgeon.
- The stretch should be progressive: tension sensation is normal, sharp pain is not.
Who Benefits from This Exercise?
This stretch suits a wide audience: people with hip stiffness, early-stage coxarthrosis, piriformis syndrome, hip-origin lower back pain, or simply tension from prolonged sitting. It is especially recommended for runners, cyclists and people resuming physical activity after a period of inactivity.
Diagrams and illustrations
Hip joint stretch illustration
Supine figure 4 position with leg pull toward chest to stretch the hip.