Incline Push-ups
Easier push-up variation with elevated hands, ideal for beginners and rehabilitation.
Introduction
Incline push-ups are the most accessible variation in the push-up family. By placing the hands on an elevated surface (wall, bench, step), the load on the upper body is reduced, allowing beginners to work the fundamental pushing movement with correct technique. It is also an excellent rehabilitation exercise after a shoulder or wrist injury.
Anatomy and Muscles Worked
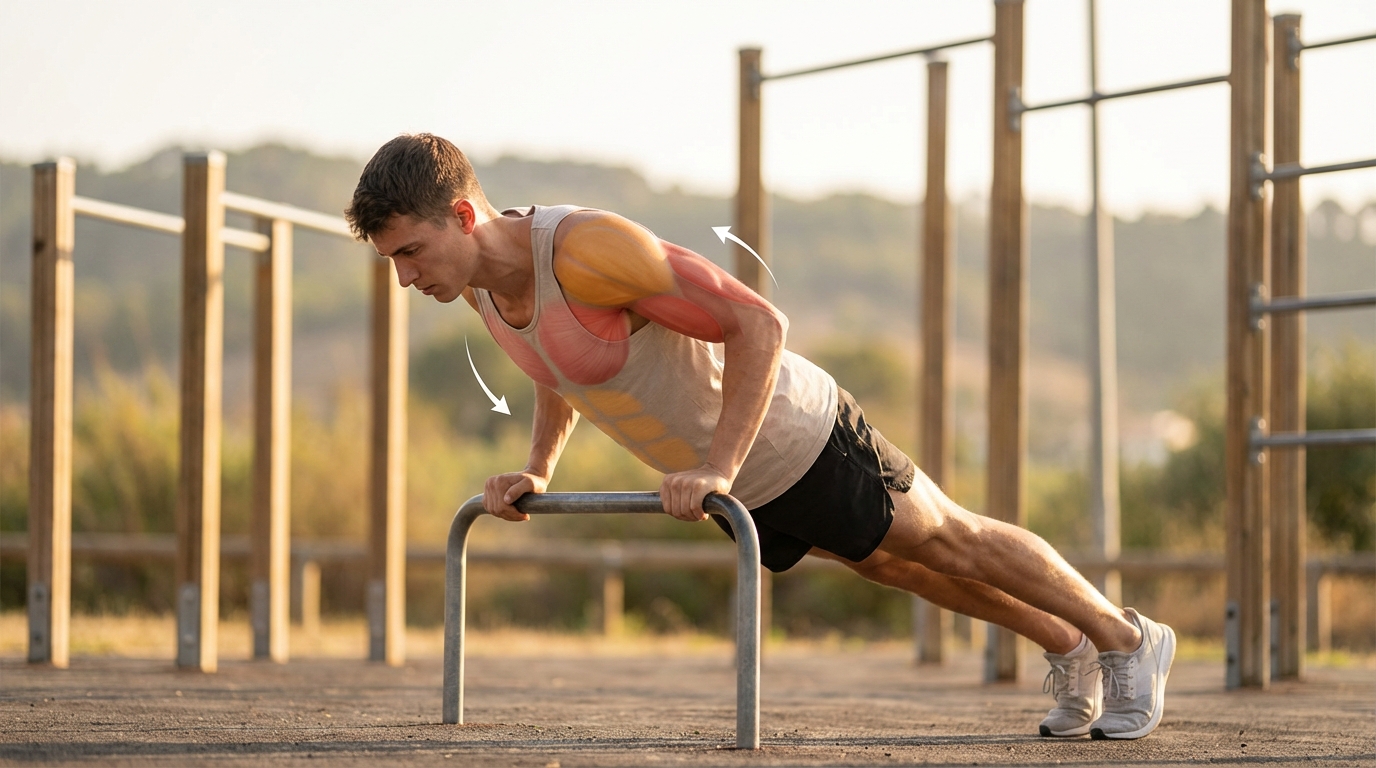
- Primary muscles: lower pectorals, triceps brachii, anterior deltoids
- Secondary muscles: serratus anterior, core
- Stabilizers: rotator cuff, erector spinae
Step-by-Step Instructions
- Place your hands on a stable elevated surface (wall, bench or step) at shoulder width.
- Step your feet back to create an inclined angle, body straight and engaged.
- Lower in control toward the surface, elbows at 45 degrees from the torso.
- Push back to starting position while exhaling.
- The higher the surface, the easier the exercise.
Recommended Sets and Reps
- Beginner: 3 sets of 12 to 15 reps
- Intermediate: 3 sets of 15 to 20 reps
- Progression: gradually lower the height toward the floor
Common Mistakes
- Surface too high: little muscle stimulus if the angle is too shallow.
- Body breaking at the hips: maintain strict head-to-heels alignment.
- Lowering too fast: control the eccentric phase for muscle development.
Safety
This is one of the safest variations. Verify that the support surface is stable and does not slip. Ideal for post-injury recovery with approval from a healthcare professional.
Variations
- Wall push-ups (easiest)
- Bench push-ups (intermediate)
- Low step push-ups (transition to floor)
Target Audience
Perfect for complete beginners, people in rehabilitation, seniors, or anyone who cannot yet perform classic floor push-ups. Also useful as a warm-up for advanced practitioners.
Diagrams and illustrations
Incline Push-ups — Illustration
Illustration of technique and correct position for incline push-ups.